In the Actions console, you can click the drop-down menu in the main navigation to switch between projects, as shown in the following screenshot:

Create a project
To develop an Action, you first need to create an Actions project. This project grants access to the Actions console, as well as the integrated Actions Builder IDE.
To create a project, follow these steps:
- Go to the Actions console.
- Click New project.
- Enter a name for your project and click Create Project.

Once the project is created, you're taken to the Actions console on-boarding page, where you choose a category for the Action you're building.
See additional documentation on building for these specific Action types:
Import a project
You may want to import an existing project to share Cloud and Firebase services, like Cloud Functions, with your Action.
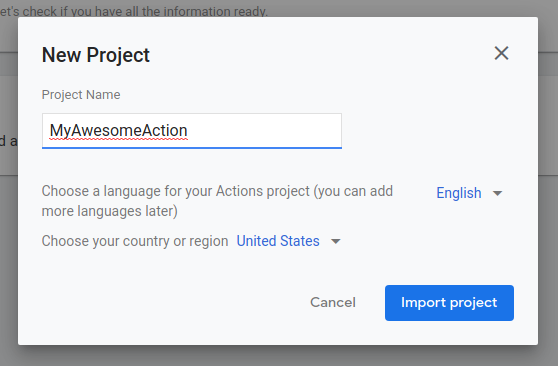
If you want to build your Action on top of an existing Cloud project or an existing Firebase project, choose that project in the drop-down menu inside the New project dialog. As you start typing, existing project names appear. Click on the project you want to import.
To import a project, click the project you want to import. Then, in the New Project window, click Import Project.

Delete a project
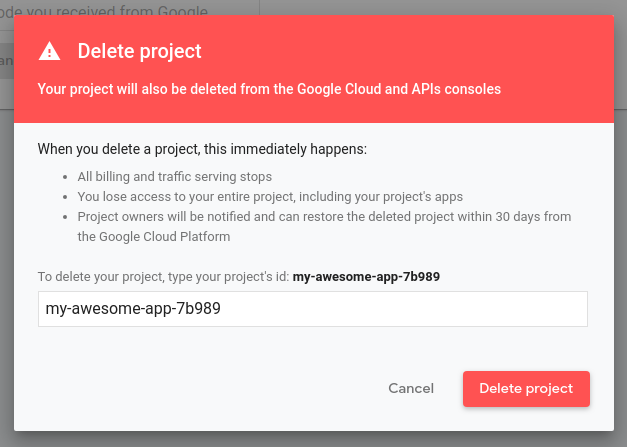
To delete a project, follow these steps:
- Click on the more more_vert icon > Project Settings > Delete Project.
- Enter the Project id displayed above the text field.
- Click Delete project.

Once a project is deleted, Assistant no longer serves your Action to users and any pending reviews are canceled. You have 7 days to reverse the deletion and restore the project. To restore a deleted project, see Restoring a project.
Add collaborators
To add collaborators to a project, click on the more more_vert icon > Manage user access.
From there, you're directed to the Cloud Project Management System. Click Add to edit collaborators and specify their role.
If you want someone to have full permissions, add them as a project Editor. If you only want them to be able to see the project and test the Action, add them as a project Viewer.
Banners and notifications
While working in the console, platform and account related information shows up in two places:
- Banner: Platform issues and service-wide announcements are displayed in a banner at the top of the console.
- Notification center: The notification notifications icon at the top of the page shows account and project related notifications. These items generally require you to take action.
